Performing multiple actions on form submit in a Glide App
A simple automation that helps do multiple operations

Introduction
Last week I published a post on Introducing Glide. We built a simple Events app as part of it. We defined Host, Team, Event and Ticket, nothing fancy though.
The app has regular CRUD operations, search and list. In this short post, let us look at an example where we explore Glide Actions. When a user performs any operation, it will trigger an action. Anything from click of a button to clicking on a menu option is an operation. A particular value in a column can also be a trigger to an action.
Glide action is a powerful feature that can be used to design simple to complex workflows when a trigger happens.
How to go about it
Let's look at a scenario where a user adds a record, in our case, let's say a team member. By default, what happens is, a row gets added to the Team table. But what if we want additional things to happen. Like play a sound, or send an email or one of the multiple options that is available.
In order to handle this, we need to perform 2 things:
Define an action which can comprise of one or more steps where each step can do an entirely different thing. For example, playing a sound can be a step, sending an email can be another step, sending a SMS can be another step.
Map this newly created action to form submit.
That is all is required. Beauty of this is, the original form submission happens without a hassle, just that many more happens on top of it, isn't that nice 🤩
Let's make it work
When I open the Smart events app, on the center there are 3 tabs, data, layout and actions.
Let's click on the actions tab where we shall define a simple workflow.
I perform the following steps to define a workflow,
Click on New Action
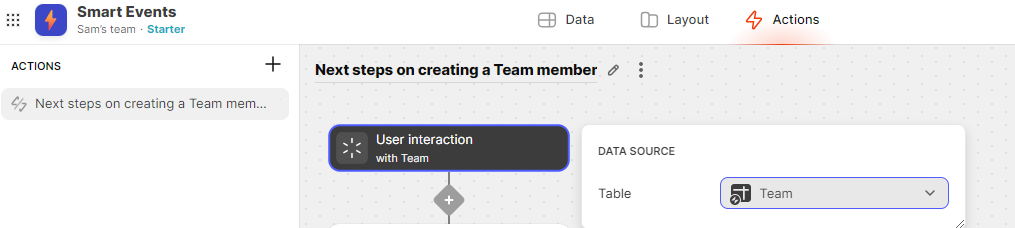
On the action design page, as a first step, rename the name of action so that it will be easy when the app grows. I renamed it to Next steps on creating a Team member
By default, it selects the first table in the list for the trigger condition. I changed that to "Team" table. At the moment, the design page looks like this:
Click on the + icon and select Interaction and Play Sound.
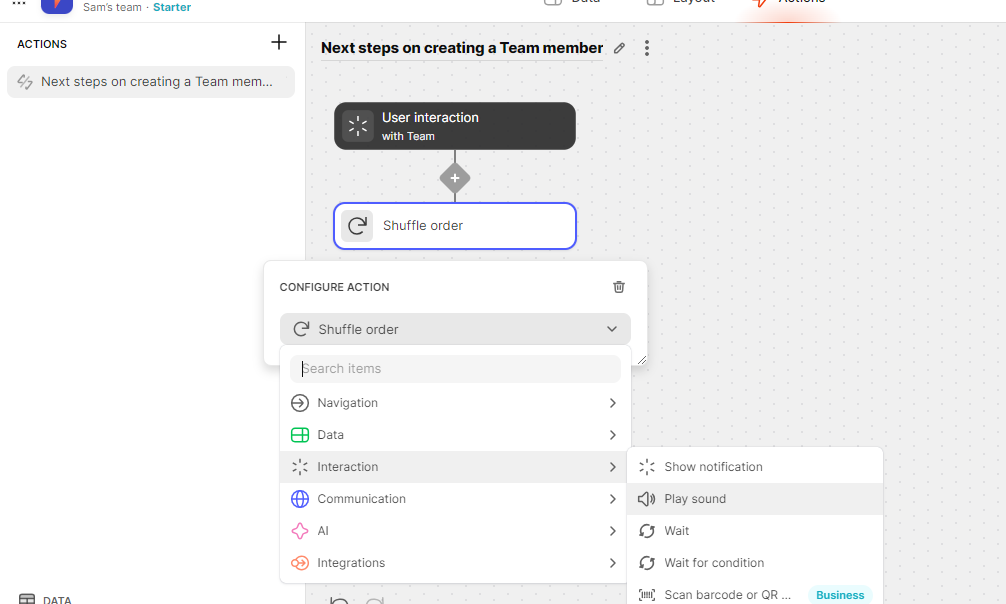
There are a couple of options under Sound, I selected Close Encounters
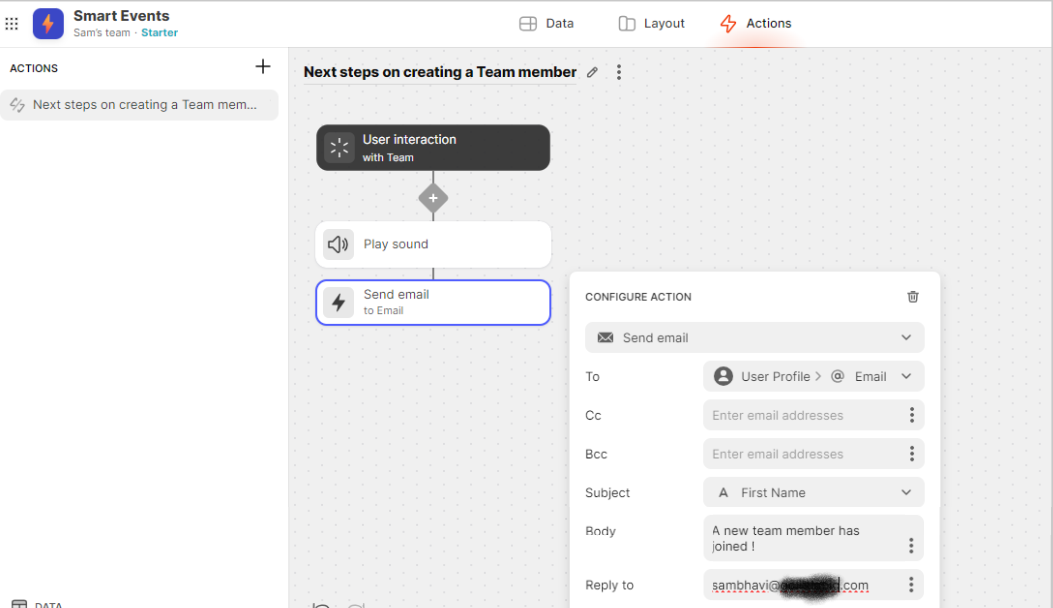
I then added another action. This time I chose Communication and then Send email
I finally add another action. A simple one, Show Notification under Interaction menu. I added a success message as "Multiple steps performed successfully!"
We are done defining the workflow. Let's now add it to our form submit. By default, when I click on Add option in my Team screen, this is how it looks like
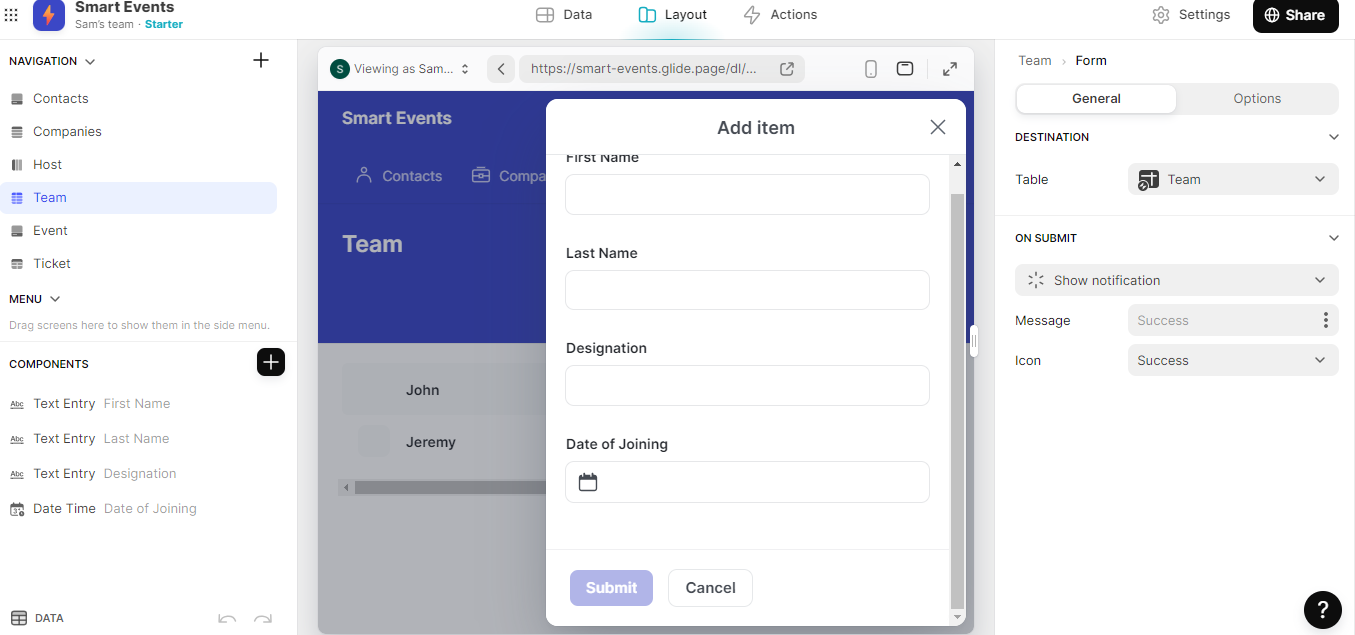
Notice the Show Notification on Submit. I change it to the newly created action. Tada, that's where the magic happens ✨
When I now go ahead and add a team member, I'm able to hear a sound, receive an email and a notification shows up.
All these happen after the data gets added in the Team table.
In my opinion, this is such a cool and useful feature when we build real applications as there will be a lot of actions to be performed, not just inserting a row in a table. What is even cooler is, you can add conditions based on which this action or an alternate action will fire.
Feel free to add a team member to see the actions in action 😉
Conclusion
In this post we looked at how to add multiple actions on form submit using Glide actions. They are easy to setup but can be quite powerful.
Do give it a try with Glide actions 🚀