Come, let's Glide 💁♀️
A No-Code tool that helps build apps quickly with your data

Introduction
Recently I started to explore Glide for work. Glide is another No-code tool in the block, but quite a different one in terms of how it started out. It's growing pretty fast in terms of features. Lot of use cases can be handled using Glide, and it is based on the PWA approach (Progressive web apps).
There is a massive advantage of making a Glideapp as a mobile app very easily without uploading the app in playstore or appstore. This is one of my favorite aspects of Glide.
Approach to Glide
One stark difference I felt when I started to pick up Glide was that, one had to start from data, and not try to build a user interface/front end first and then try to add data. That's not how Glide works nor it is not meant to be approached that way.
Instead, the whole idea is to connect your data as the first step and Glide builds an interface using the data that you provide. It also provides a decent option of automating a lot of workflows using Glide actions and Integrations with a lot of tools. See here for the tools with which Glide integrates as of today.
Glide is perfect for many businesses that has solid workflows (like Order management, Customer management, etc.,) which are mainly data driven. One can very easily build an app (both web and mobile at the same time) if they have their data in hand.
If your idea is to build a jazzy user interface for app I wouldn't recommend Glide, as in my opinion it is not meant for that. Rather than you can try doing that once you are an expert with Glide.
Let's build a small app
Time to choose a use case and start building. How about an Event Management use case? Most of us will be able to relate quite easily as I'm sure we do attend concerts, magic shows, stand-up comedy shows and much more 🦸♂️🤹♀️🧘♂️.
Let us start to think in terms of data. What are the tables that will be required? Just to keep things simple,
Host - The organizer or the team that will host the show/workshop
Team - Users from the Event Management company who are responsible for the events that they sign up with hosts
Event - The actual event related tables
Ticket - Transactions made by the audience to attend an event
Now let's add the columns that will hold data for each table. Again, to keep things simple, I'm not being exhaustive in terms of detail that goes in each.
A sample of table Host
| Company Name | Address | City | State | Zip code | Category |
| Houdini Magic Company | 178 Wood Avenue | Scranton | PA | 18505 | Company |
| Winds of the Acoustic | 89 Maple Lane | Edison | NJ | 08817 | Individual |
A sample of table Team
| First Name | Last Name | Designation | Date of Joining | Associated Hosts |
| John | Doe | Senior Event Manager | 01/01/2022 | Winds of the Acoustic |
| Jeremy | Holmes | Junior Event Manager | 02/02/2021 | Houdini Magic Company |
A sample of table Event
| Event Name | From Date | To Date | Event Location | Cost / Ticket ($) | |
| Magicians of the East | 12/01/2023 | 12/31/2023 | 421863 Cr 5300, Coffeyville, KS 67337 | 75 | |
| Phil's Flute Concert | 12/01/2023 | 01/31/2024 | #6644301 Vine St, Hays, KS 67601 | 150 |
A sample of table Ticket
| Purchased By | Purchased for Event | Number of Tickets | Cost |
| Smith Wallace | Phil's Flute Concert | 5 | 375 |
| Lizzie May | Phil's Flute Concert | 2 | 300 |
Let's start building in Glide
As a first step, go to the Glide website and sign up for a free plan
It will ask for an App Name, I gave "Smart Events"
For Data source, I selected "Glide tables". There are other options like Google sheets, Airtable, Microsoft excel too
By default, it provides two tables and some sample data in each
This is how it looks like at the moment
There are 3 tabs in the center, Data which is used to hold table information, Layout to design the user interface and Action to describe automation if required
For the moment, let's just retain the default tables and start adding the ones that we defined above
Under Data tab, click on the + icon on right side and create a new table, name it as Host and add the columns as explained in the previous step.
Let's now move on to the Layout tab and add a new Navigation for the newly created Host. Click on the + icon on right side
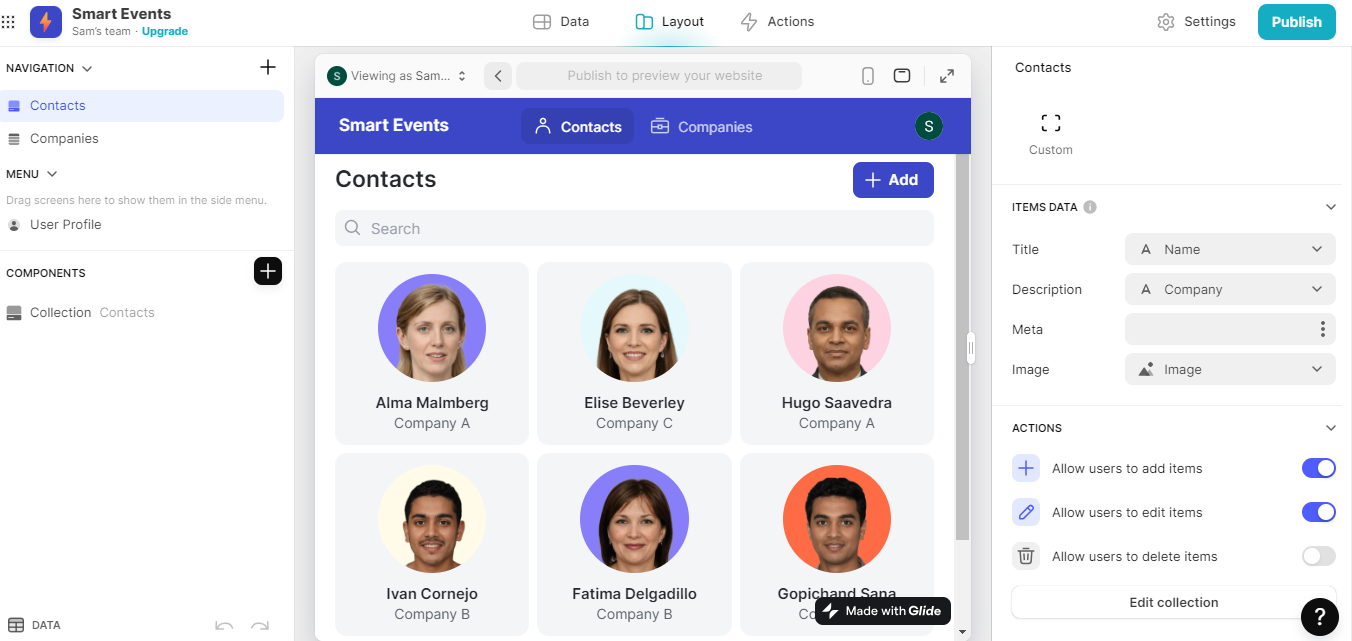
I chose the option "Screen from Data" and selected "Host"
Boom 💥 It creates a screen for Host with all basic functionalities like Add, Edit, Delete. I found it to be really cool 😎
It now looks like this 👇

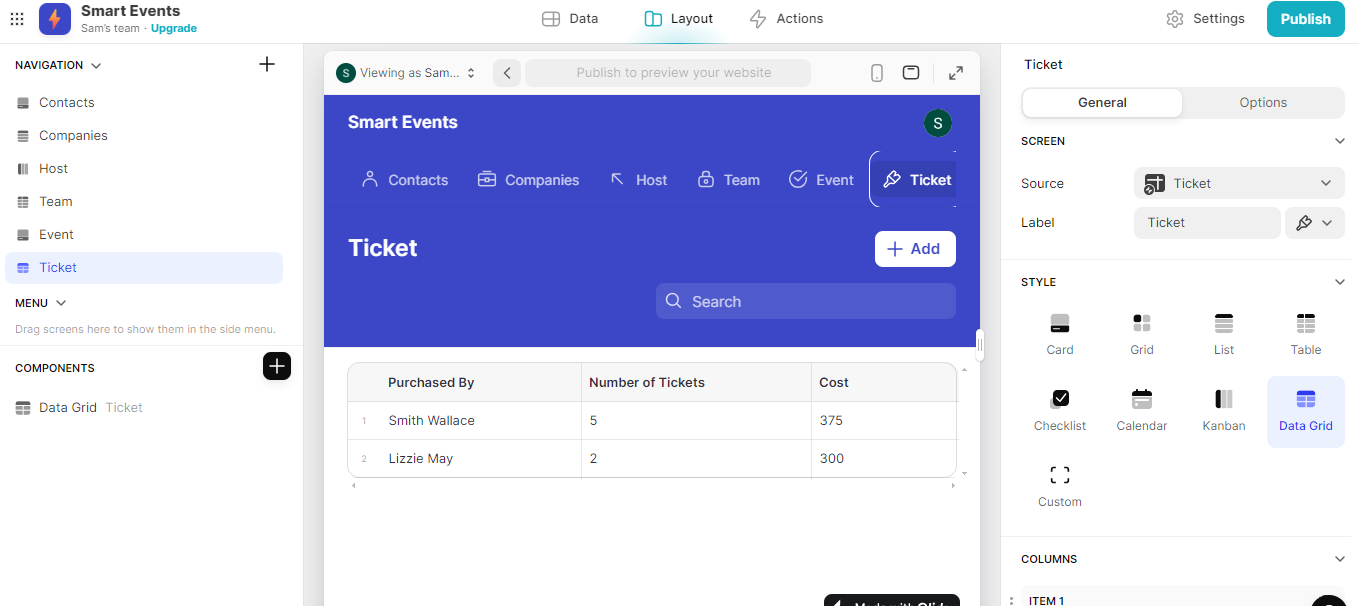
Repeat the same steps, right from creating a table, adding rows, and then adding navigation for Team, Event and Tickets
On creating all the tables and corresponding screens, this is how it looks like 👇
Time to publish ✨. Click on Publish button on right side of the screen. For the name, I gave as smart-events.glide.page. Under Privacy tab, I selected Public and No Sign-in option so that end users need not sign up to access the app that I just published. There are multiple options as well from an access level. As always, this is just to keep things simple.
Try clicking on my smart events app now!
Woohoo, a basic app is ready in such a short span of time 🤩
💡Note that there is a lot more to be done to make the app truly useful. I shall probably write a few more posts, on how to set properties for each column, how to add simple actions, how to modify edit screens, how to modify behavior on submit, how to publish it as a mobile app and so on.
Good resources
Here are some good resources that helped me pick up Glide:
Conclusion
Glide is a very powerful tool for many use cases driven by a standard workflow, or if you can visualize a workflow for the use case. The speed in which one can build an app is truly mind blowing 😮.
It's definitely worth learning Glide if you want to add one more tool to your No-code kitty.