My first Vue app
Simple Vue frontend that lists Book Reviews fetched from a json server using axios

Introduction
Tutorial paralysis is true beyond words. Whenever we learn a new technology or framework or language, the first step will be to purchase a course in Edtech platforms like Udemy, Pluralsight, and the like. Nothing wrong! There has to be some starting point.
From my experience, if we complete a course just watching, or even coding along does not take us very far. Taking notes helps, again not too much. What helps is to build on our own, even if it is something that has no business meaning, or is incomplete in terms of functionality, it still makes a lot of difference.
Learning how to learn is an art that takes time to master.
I had to pick up Vue JS for one of the products I'm building. Vue Mastery helps me learn in a very efficient way. After watching one of the beginner videos, I decided to build a similar app to what they built, along with capturing notes so that I can refer anytime in the future.
Publishing the same so that it helps someone like me who's venturing on to Vue.
What I plan to build
In one of my earlier posts, I integrated Vue and Django. I built a one-pager Book Review app, where one can enter minimal details about a Book and the data is stored in django's default sqlite database, displaying the detail through a Vue component.
I plan to build the same Book Review App, but purely using Vue. I don't intend to store any detail in the database as my goal here is to start to get comfortable with Vue.
This app will simply display Book reviews fetched using axios from a json server, meant to create fake data for API testing.
Come, let's code
On creating a Vue project, a good amount of code is auto-generated. I decided to reuse most of them, except for renaming HomeComponent to ReviewList, adding a new component called ReviewCard, modifying text in AboutComponent, displaying book reviews on the right side of the home page by fetching data from a fake json server using axios, checking in the code to Github, and finally deploying it to Render.
The course has a slightly different content, removing entire contents from HomeView and performing dynamic routing to another page when a card is clicked. I don't plan to add code related to dynamic routing as part of this post. Probably that'll be part of another post.
Below is the high-level list of tasks that I learned ad performed
Create a Vue project
Single file Vue components
Fundamentals of Vue routers
Fetch external data using axios
Build and deploy the app
Create a Vue project
We create a Vue project using a command line tool vue-create which is powered by a build tool called Vite.js
At a high level, vue-create creates the complete skeleton required for a Vue project. Vite is used for fast builds, also enabling hot module replacements.
We use npx create-vue command to create the project. Below are the settings I used.
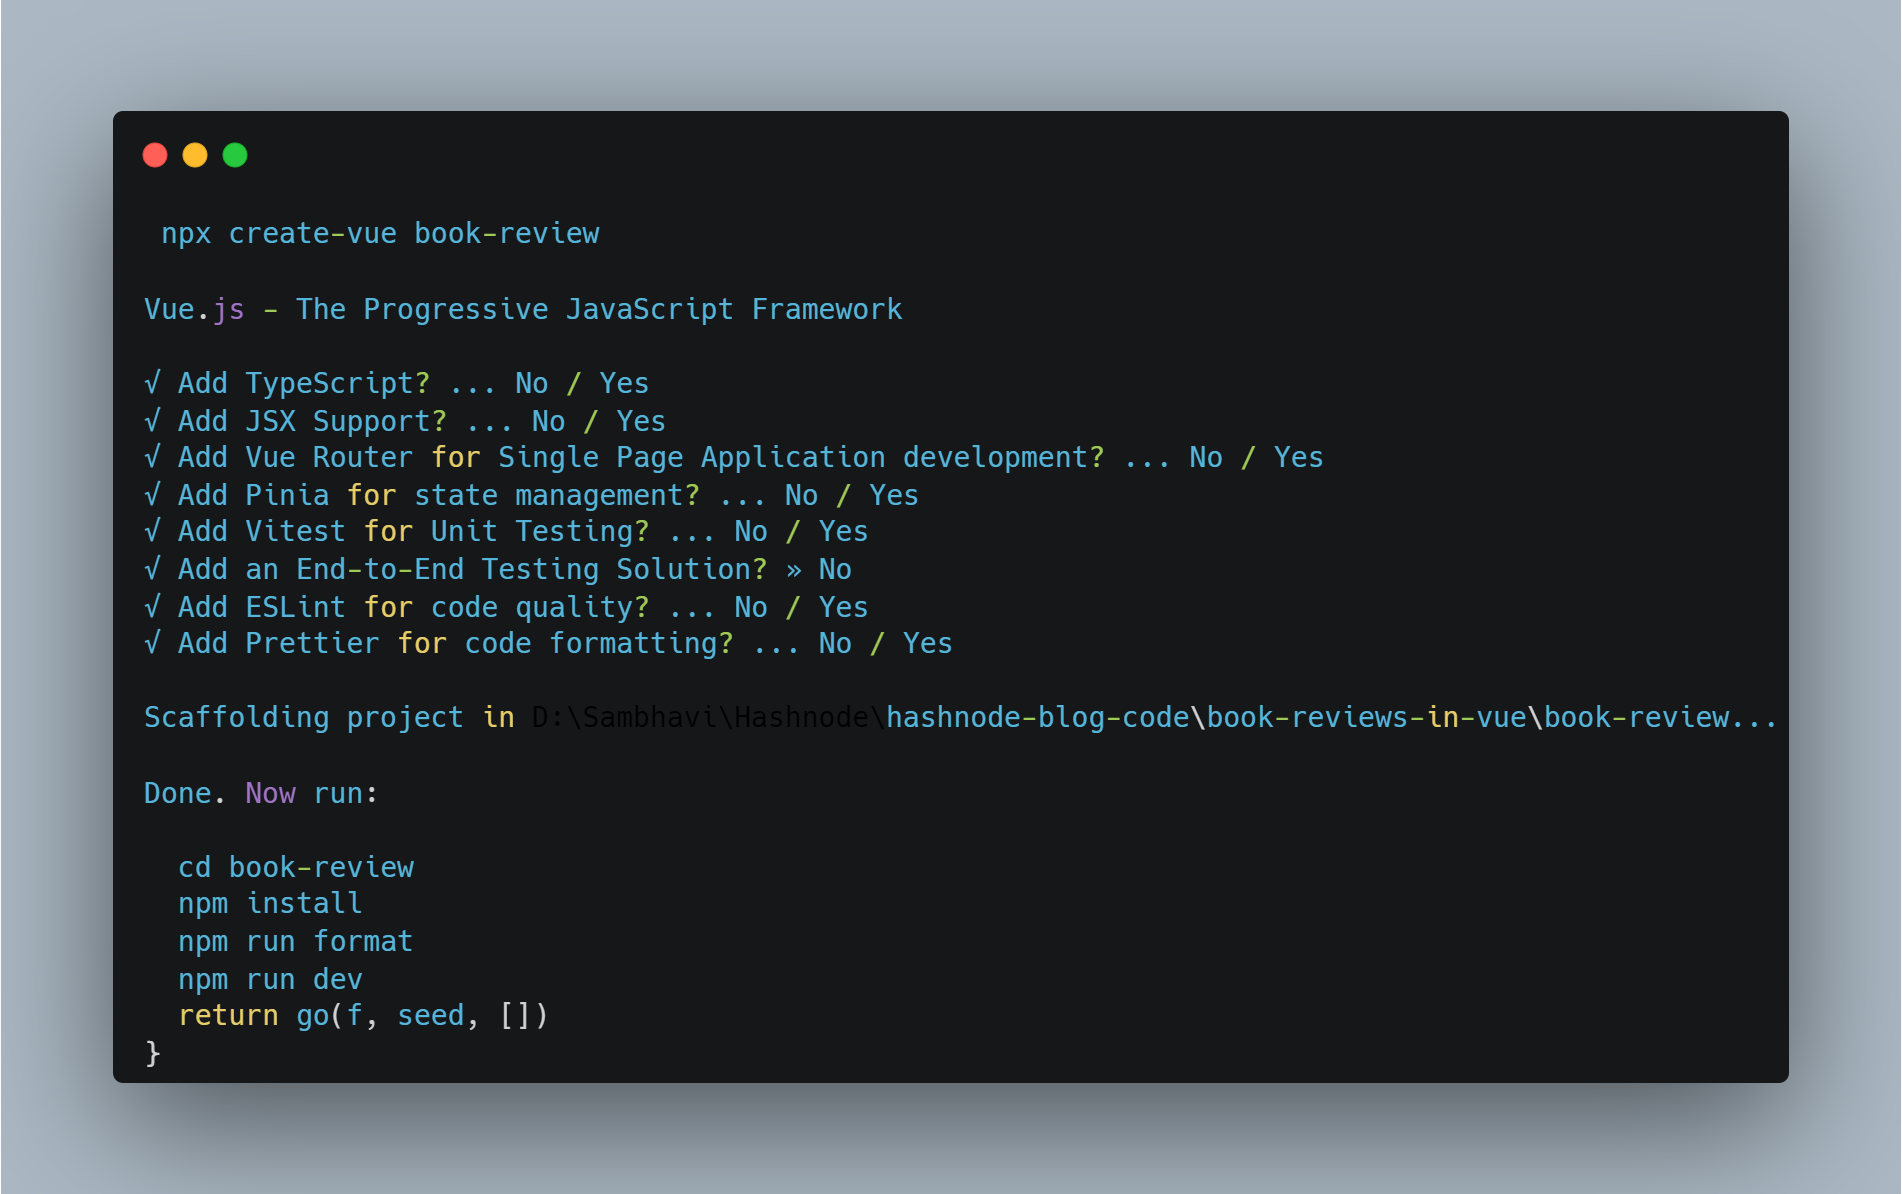
Then change the directory to the newly created folder book-review followed by npm install.
npm-install installs the required packages as present in package.json. On successful installation, we start the development server npm run dev
cd book-review
npm install
npm run dev
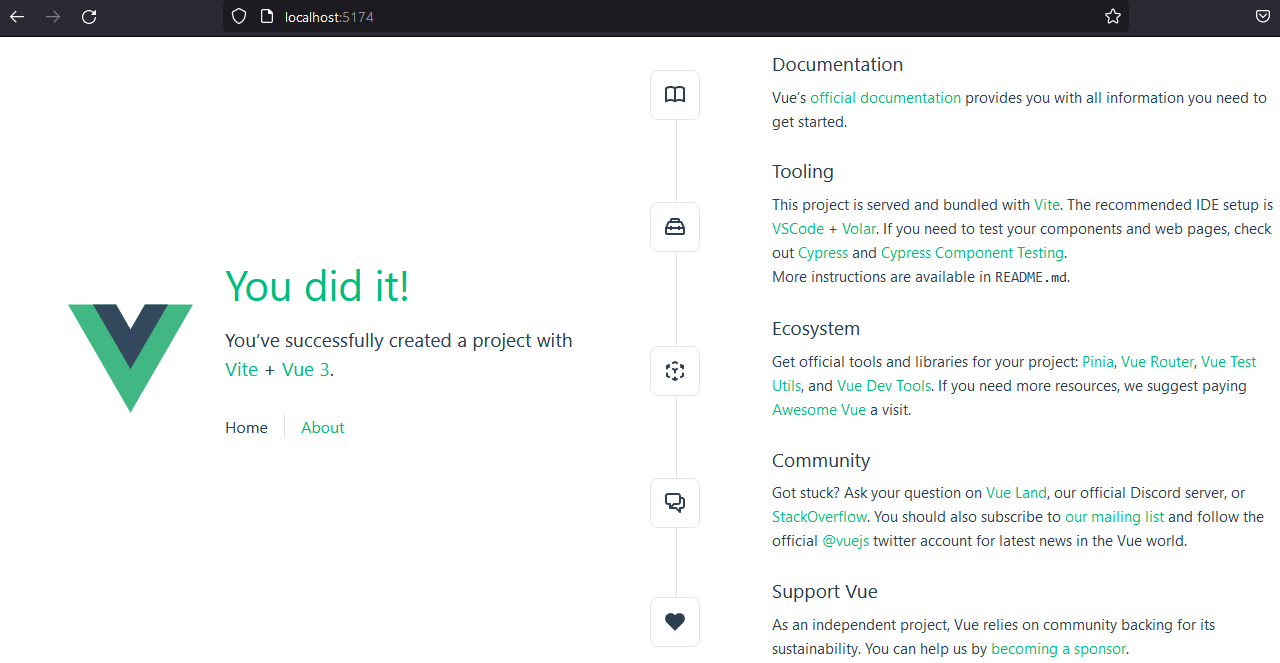
If the server starts without any issues, we should see the following

Hitting the URL on the browser, we see the following page 😀
The folder structure in my IDE looks like the below
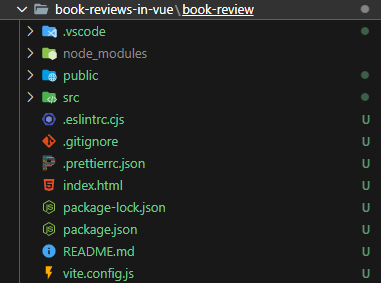
node-modules - This folder contains the build dependencies. We usually do not check this in git
public - This folder contains files that are not required to be processed through Vite. When the project is created, it contains favicon.ico by default
src - This is the folder that contains the actual meat of the application. It contains the following folders:
assets - to store images and stylesheets
components - building blocks of the app. Think of it as a Lego block.
routers - for navigation
stores - for state management
views - to store the different "views" of the application
App.vue - this is the root component that in turn nests all the other components. Think of it as the final Lego model that gets built
main.js - this is the one that renders the app and mounts it to the DOM
On top of these folders, there are a few other files, more for configuration purposes.
The key here is the main.js file that creates and mounts the app.
import './assets/main.css'

import { createApp } from 'vue'
import { createPinia } from 'pinia'

import App from './App.vue'
import router from './router'

const app = createApp(App)

app.use(createPinia())
app.use(router)

app.mount('#app')
`index.html` This file references the #app and is the starting point of our application. Below is the line in index.html that performs the same.
<div id="app"></div>
Single File Components
A Vue app is made up of multiple Single file components (with extension .vue). Each component loads a part of the page. In the default Vue app that gets created, there are two components namely
About Component
Home Component
These are loaded when About and Home links are routed to. One of the important points that I made a note of about a Single file component is the structure of the same. It is as below
<script setup>

</script>

<template>
    <p>Come, Review the books you read</p>
</template>

<style>
p {
   font-color: 'blue';
   text-align: 'center';
}
</style>
script - The javascript part goes here
template - The html part goes here
style - The css part goes here
Let's make changes to the existing code
As I mentioned earlier, I renamed HomeComponent under views folder to ReviewList . Under components folder, I create a file and name it ReviewCard. The extension will be .vue This is the child component that is invoked by the parent ReviewList that in turn is invoked from App.vue which finally goes back to index.html
Let's make a few changes to the left side of ReviewList now.
In Vue, props is a way through which a parent component passes data to a child component. We use simple props in HelloWorld component to display the title.
<h1 class="green">{{ msg }}</h1>
Here msg is the props. We pass corresponding data from the parent App
<HelloWorld msg="Review the books you read!" />
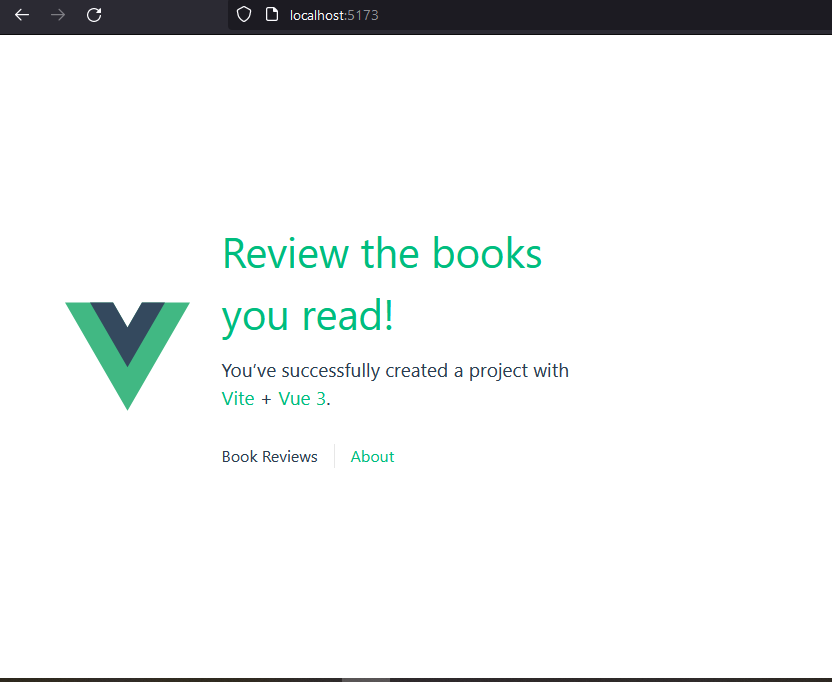
I renamed the links on the left side to match the app that I'm building
      <nav>
        <RouterLink :to="{ name: 'ReviewList' }">Book Reviews</RouterLink>
        <RouterLink :to="{ name: 'About' }">About</RouterLink>
      </nav>
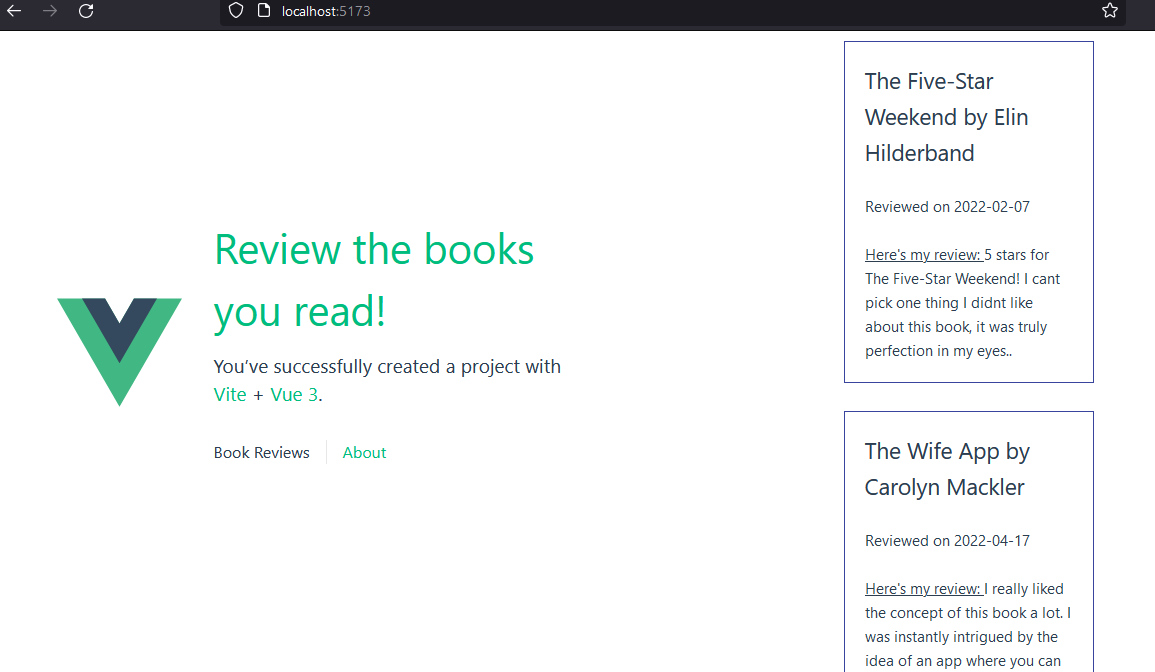
On making these changes and executing npm run dev, the page looks like
Let's now move on to the right side. The plan is to store a couple of book review information in a server, using props to pass the data from the parent ReviewList to the child ReviewCard
To store the data in a server, we use a fake json server that is commonly used for testing.
This is the one that is suggested in the course.
To add data, I goto my github account, create a new public repository, create a file called db.json and add a bunch of data in it, and commit it back.
Here is my Github link to the db.json file where I just added two review details.
Let's now add a props in ReviewCard like so
<script setup>

defineProps({
    review: {
        type: Object,
        required: true,
    },
})
I then add the template part such that it displays the name of the book, the author, and the review of the book. For simplicity's sake, I took a review from goodreads. Here is the snippet for template
<template>
    <div class="review-card">
        <!-- Display Review data -->
        <h2>{{  review.title  }} by {{  review.author }}</h2>
        <br/>
        <p>Reviewed on {{ review.date }}</p>
        <br/>
        <p> <u>Here's my review: </u>{{ review.review }}</p>
    </div>
</template>
Since I come from a django background, the method of using such a template language in htmls to display values is easy to pick up.
{{ review.title }} and associated tagsTime to add router information
By default, there is a folder called router and an index.js file in it. This holds the routes i.e. when the user clicks on a link which component should fire up is defined here. Below are the routes in our index.js file
 routes: [
    {
      path: '/',
      name: 'ReviewList',
      component: ReviewList
    },
    {
      path: '/about',
      name: 'About',
      // route level code-splitting
      // this generates a separate chunk (About.[hash].js) for this route
      // which is lazy-loaded when the route is visited.
      component: () => import('../views/AboutView.vue')
    }
  ]
What this means is on hitting the root i.e.http://localhost:5173 We fire up the ReviewList component. The route for About looks slightly different as it is lazy loaded for performance reasons.
Let's now add API-related code
The data is ready, the route is ready, and the next step would be to add the piece of code that invokes the API using axios. We install axios as the first step using npm install axios. We then add services folder and create a file ReviewService.js. This is where we write the invocation code from the fake json server that we created earlier.
import axios from 'axios'

const apiClient = axios.create({
    baseURL: 'https://my-json-server.typicode.com/SambhaviPD/fake-db-for-book-reviews',
    withCredentials: false,
    headers: {
        Accept: 'application/json',
        'Content-Type': 'application/json'
    }
})

export default{
    getReviews() {
        return apiClient.get('/reviews')
    },
}
Now that everything is done, we just add a piece of logic in our ReviewList that invokes this ReviewService, fetches the reviews which in turn is iterated to populate ReviewCard
On the script section, we use the OnMounted lifecycle hook where we call the service like so
<script setup>
import { ref, onMounted } from 'vue'
import ReviewCard from '@/components/ReviewCard.vue'
import ReviewService from '@/services/ReviewService.js'

const reviews = ref(null)

onMounted(() => {
    ReviewService.getReviews()
    .then((response) => {
      reviews.value = response.data
    })
    .catch((error) => {
      console.log(error)
    })
})

</script>
The template section is super simple where we iterate the fetched objects and load the ReviewCard component
<template>
  <div class="reviews">
    <ReviewCard v-for="review in reviews" :key="review.id" :review="review" />
  </div>
</template>
That's it, when we look at the browser we see
Since I just added 2 reviews, they are displayed. Not that it is great on styling, but the purpose here is to see an end-to-end flow work. And it does! 🤩
Time to deploy
Let's deploy it on a cloud hosting provider, the course suggests Render and I go with it. It is extremely easy to use. Below are the steps that are required:
In your local terminal build the code for production mode using
vite build. On success, you should see adistfolder that contains the files that will be injected toindex.htmlduring runtime. My folder structure finally looks like
Then sign up with Render
Click on New -> Static Site
Scroll down and add the Github url where your code repo is present
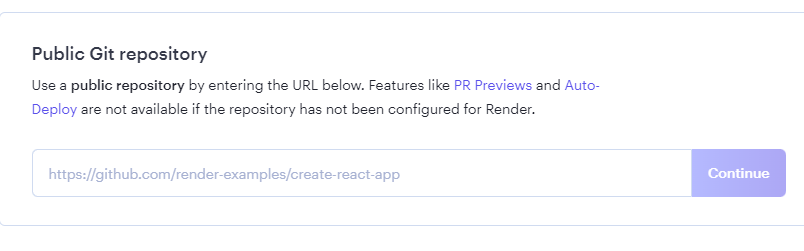
Render now knows what code is to be deployed. When we click on continue we see a page that is prepopulated corresponding to our code in Github. We just need to give the app a name and the build folder name (
distin our case).On submitting the form, the build starts to run and within a minute it is deployed and shows the final URL. In my case, I named the app
example-book-reviewsand below is how it looks like when I hit the browser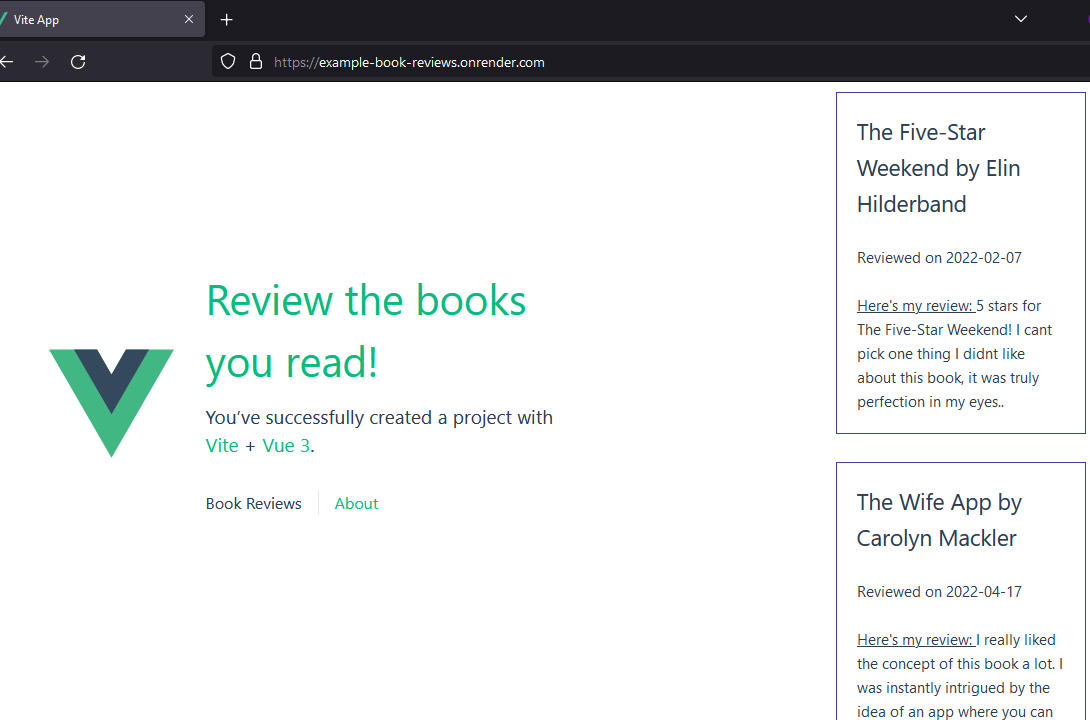
Conclusion
It was a great learning experience by building something from scratch, modify it to my needs, and more importantly capture my understanding in a blog like this.
Though it was just a one-pager, it still helped me reinforce the fundamentals of a Vue app, and how to deploy it in the cloud. I will now be able to apply this learning to the product I'm building and take that further.
Here's my Github repo that has the complete code and the json server with 2 book reviews that I added.
And here's the app deployed on Render.
References
https://www.vuemastery.com/courses/real-world-vue-3-composition-api