Simple Django Tip #8
How to conditionally navigate post successful login?

Introduction
In the past few posts, I have been sharing a couple of different tips that can be used in the starting stages of a Django project. A few of them are how to setup pytest in a django project, how to maintain secrets in a .env file, how to design models the right way and more.
In this post, I plan to share a super simple approach to navigate to different pages post successful login. Let me elaborate the case with a very practical scenario.
In a Django app, rather any SaaS product, when a new user signs up, a good practice is to send an activation email. Once the user activates the account, the common flow is to redirect them to the sign in page. Once the user signs in, there may be a possibility for different routes.
In some cases, the user may have to navigate to the product's home page or to a user profile page for initial onboarding. The condition may be a check on whether few user details are already captured, or an onboarding flag is set to true.
I'm sharing the approach I usually follow to navigate post successful login. It's quite simple yet clean.
You guessed it right 😉 Time to build
Let's perform the usual steps of creating a virtual environment, followed by installing Django, and creating a project.
py -m venv venv
venv\Scripts\activate
pip install Django
django-admin startproject simplenavigation
cd simplenavigation
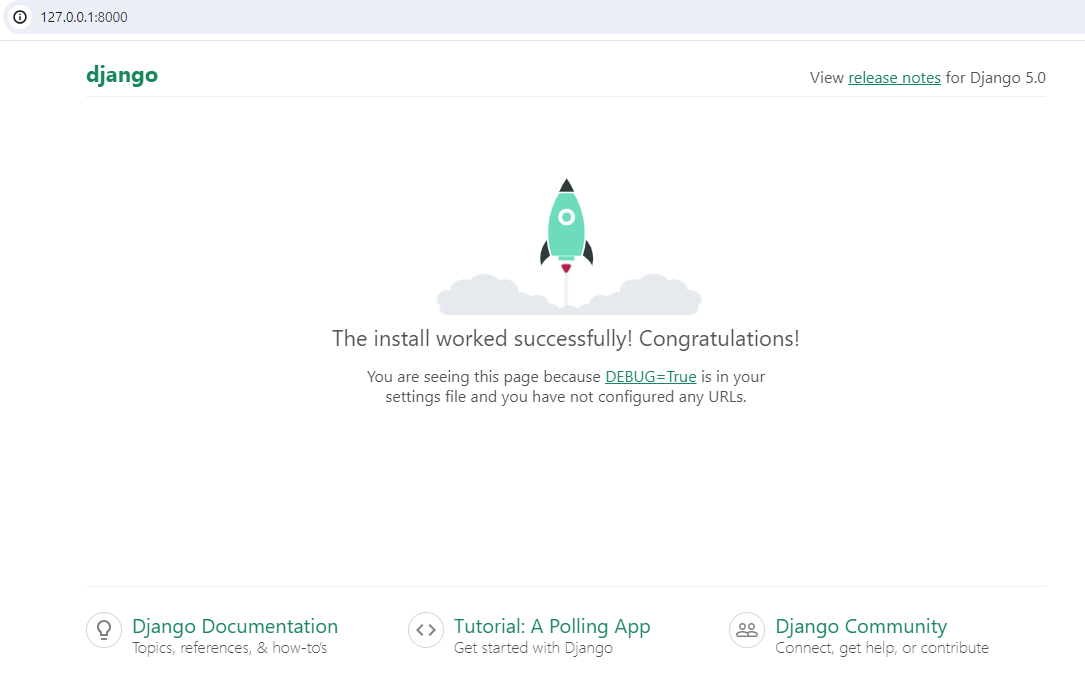
Start the development server to ensure the initial steps bring up the default page.
python manage.py runserver
You should see the default Django page as below 👇
Create required apps
I usually create an app to hold user information, the users of the app. Once the user signs in, they will usually be redirected to the home page of the main app. I'm calling it mymainapp.
In order to create the two apps, execute the following command 👇
python manage.py startapp users
python manage.py startapp mymainapp
INSTALLED_APPSDevelop CustomUser and related aspects
Let's add a CustomUser to our user model, so that we can use email as the unique identifier and the one that will be used to login instead of User name.
Prior to creating CutomerUser, we need to create a corresponding Manager that has the logic to create user as well as superuser.
Here is how my CustomUserManager looks like 👇
from django.contrib.auth.base_user import BaseUserManager


class CustomUserManager(BaseUserManager):
    """
    Custom user model manager where email is the unique identifier
    for authentication instead of username
    """

    def create_user(self, email, password, **extra_fields):
        """
        Create and save a user with given email and password
        """
        if not email:
            raise ValueError("The email must be set")
        email = self.normalize_email(email)
        user = self.model(email=email, **extra_fields)
        user.set_password(password)
        user.save()
        return user

    def create_superuser(self, email, password, **extra_fields):
        """
        Create and save a superuser with given email and password
        """
        extra_fields.setdefault("is_staff", True)
        extra_fields.setdefault("is_superuser", True)
        extra_fields.setdefault("is_active", True)

        if extra_fields.get("is_staff") is not True:
            raise ValueError("Superuser must have is_staff=True")
        if extra_fields.get("is_superuser") is not True:
            raise ValueError("Superuser must have is_superuser=True")

        return self.create_user(email, password, **extra_fields)
And here is how my models.py looks like after adding CustomUser
from django.contrib.auth.models import AbstractBaseUser, PermissionsMixin
from django.db import models

from .managers import CustomUserManager


# Create your models here.
class CustomUser(AbstractBaseUser, PermissionsMixin):
    email = models.EmailField(unique=True)
    display_name = models.CharField(max_length=20, \
                            null=True, blank=True)
    first_name = models.CharField(max_length=150, \
                            null=True, blank=True)
    last_name = models.CharField(max_length=150,
                            null=True, blank=True)
    avatar = models.ImageField(upload_to="avatars/", \
                            null=True, blank=True)
    is_staff = models.BooleanField(default=False)
    is_superuser = models.BooleanField(default=False)
    is_active = models.BooleanField(default=False)
    date_joined = models.DateTimeField(auto_now_add=True)

    USERNAME_FIELD = "email"
    REQUIRED_FIELDS = []

    objects = CustomUserManager()

    def __str__(self):
        return f"{self.email}"
settings.py and add AUTH_USER_MODEL = "users.CustomUser"Let's add a form to capture the email and password. This is required as otherwise the default form will look for Username and not email.
Add the following in users/forms.py 👇
from django import forms

class SignUpForm(forms.Form):
    email = forms.EmailField(label='Email', \
                    widget=forms.EmailInput(
                        attrs={
                        'placeholder': 'your.email@example.com',
                        'required': 'required'
                        }
                    )
    )
    password = forms.CharField(label='Password', \
                    widget=forms.PasswordInput(
                        attrs={
                        'placeholder': '**********',
                        'required': 'required'
                        }
                    )
    )
Now to the next step as far as backend is concerned, a method for signup in our views.py
Go to users/views.py and add the following 👇
from django.contrib.auth import login
from django.db import IntegrityError
from django.shortcuts import redirect, render


from .forms import SignUpForm
from .models import CustomUser


# Create your views here.
def signup(request):
    """ Method for signing up a new user.
    """

    if request.method == 'POST':
        form = SignUpForm(request.POST)
        if form.is_valid():
            try:
                user = CustomUser.objects.create_user(
                    email=form.cleaned_data['email'],
                    password=form.cleaned_data['password'],
                )
                login(request, user)
                return redirect('mymainapp:wherenext')
            except IntegrityError:
                return render(request, 'users/signup.html', \
                              {'form': form, 'error': 'Email already exists'})
        else:
            return render(request, 'users/signup.html', {'form': form})
    else:
        return render(request, 'users/signup.html', {'form': form})
What we do in the method is:
Create a user in the database with user entered email and password
Invoke Django's default login method by passing in the user details
On successful login, we invoke a method that decides where to go next
mymainapp/wherenext. Ignore the error for the moment as we shall do it as the next step. Similarly with the template files.Let's now add the route for the newly created signup method. Create a file urls.py under users and add the following 👇
from django.urls import path
from . import views

app_name = 'users'

urlpatterns = [
    path('signup/', views.signup, name='signup'),
]
As a matter of habit, I immediately register the newly created CustomUser in admin.py like so 👇. This helps me verify changes in my Django admin site.
from django.contrib import admin

from .models import CustomUser

# Register your models here.
admin.site.register(CustomUser)
Let's add required logic in mymainapp
In mymainap/views.py add a method that checks for a condition and navigates to different pages.
In reality we show a different page when the user signs in for the first time based on few attributes. Or, show additional components like "Take a tour" type features. Whereas, if they are returning users, we may want to show a different page with a few features turned off.
I generally write a method wherenext and add different conditions and redirect the user to different pages. I find it very simple, one place for all navigation post login. In any case of changes, I just have to change at one place.
In this post, instead of keeping it close to real-time behavior, I tweaked it for fun 🤠. A hypothetical scenario that checks whether today is a weekday or weekend and navigates to different pages that have different content.
from django.shortcuts import render

from datetime import datetime

# Create your views here.
def wherenext(request):
    today = datetime.today()

    if today.weekday() in [0, 1, 2, 3, 4]:
        return render(request, 'mymainapp/weekday.html')
    else:
        return render(request, 'mymainapp/weekend.html')
You may want to modify this method to suit your business scenario. Everything else will more or less be the same in any case, a separate app for users and for the actual functionality and so on.
Add a file urls.py under mymainapp in order to add the routes
from django.urls import path
from django.views.generic import TemplateView

from . import views

app_name = 'mymainapp'

urlpatterns = [
        path("home/", TemplateView.as_view(template_name="mymainapp/home.html"), name="home"),
        path("wherenext/", views.wherenext, name="wherenext")
]
That's all. The only pending step is developing the templates. I don't intend to show the entire code corresponding to htmls as it will unnecessarily grow the post.
Here is the link to my Github repo which has the complete code. Feel free to do a git clone
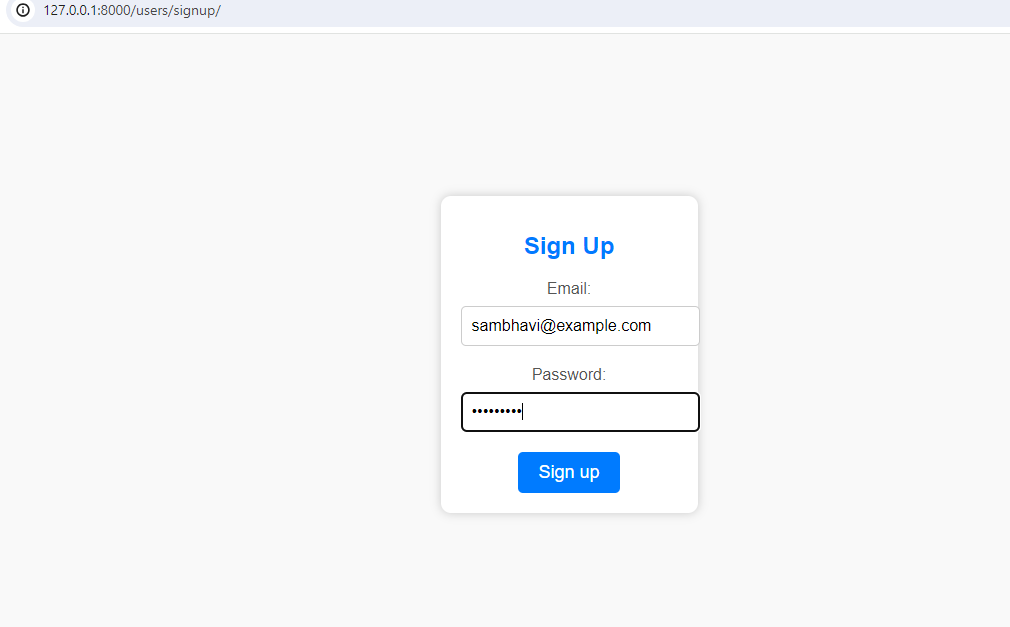
A few screenshots
Here's the Sign up page 👇
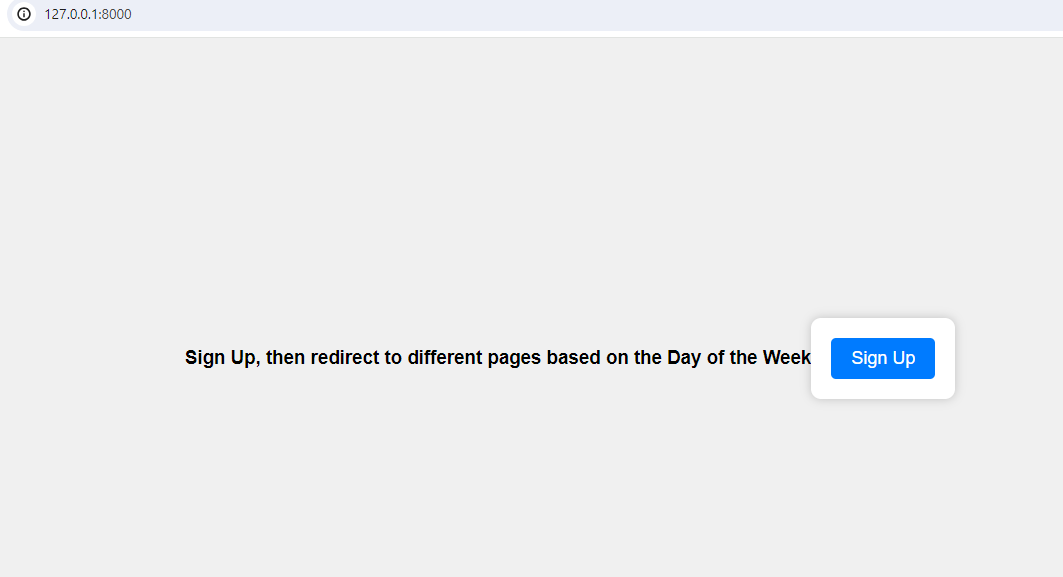
Clicking on Sign up brings this page 👇

Giving a dummy email
Since today is Wednesday, I get this 👇. Don't mind the random text please 😁

Conclusion
This is a super simple post where I shared an approach that I take when I have to navigate to different pages post login.
Probably it's a very evident approach, still when there are multiple conditions to understand which stage a user is in and then showing them the right page may lead to unnecessary complicated approaches. At such times, this simple post may be of some help 😀
References
https://copyprogramming.com/howto/django-conditional-login-redirect