Let's automate
Yes, with no code and automation tools, let's build something simple!
In my previous post, we took a peek inside the world of No Code tools. In this post, let's try automating a simple scenario using the following tools:
As always, I come up with a hypothetical scenario and stitch the required components together so that it's easier for anyone to relate. For the moment, let's assume I'm responsible for distributing free t-shirts to participants of the "Team Green Marathon" which is going to take place in mid-October.
The assumption that I make is, that there is a QR code that people will scan which will take them to a Google form that I created. Once they fill up the form, data comes to my Airtable. This happens through a Make scenario.
As a token of acknowledgment, I email the participant who filled in the Google form. In addition to that, once a day I need the count of T-shirt sizes XS and XXL as they are not very common and I'd like to keep track of it. For these, I use two simple Airtable automations.
Step 1 - Create a Google Form
Assuming you have a Google account, head on to creating a Google Form. If you do not have a Google account, sign up for one.
Creating a Google Form is pretty intuitive and easy. Once you are in Google Form page, click on "Start a New Form" and choose the first option i.e. Blank.
You should see something like this:
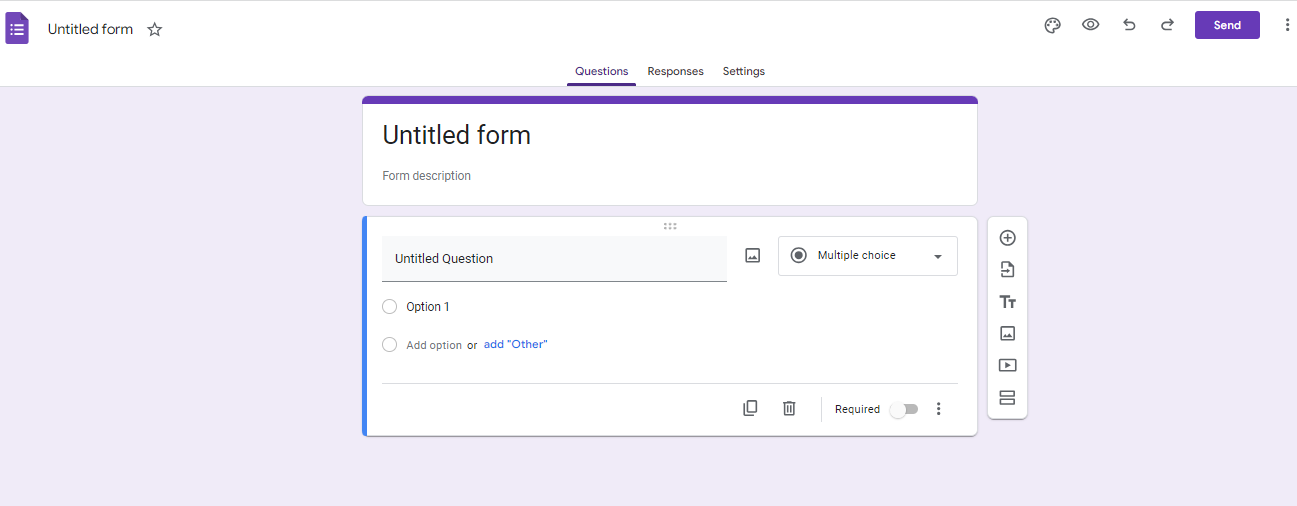
Start modifying the title to something more appropriate, and then add questions. There are a few different options when it comes to choosing the Answer Type. It can be Short text, Long text, Radio buttons, Checkboxes, Dropdown and so on.
I created a simple Google form for the free T-shirt scenario and this is how it looks like, nothing fancy.
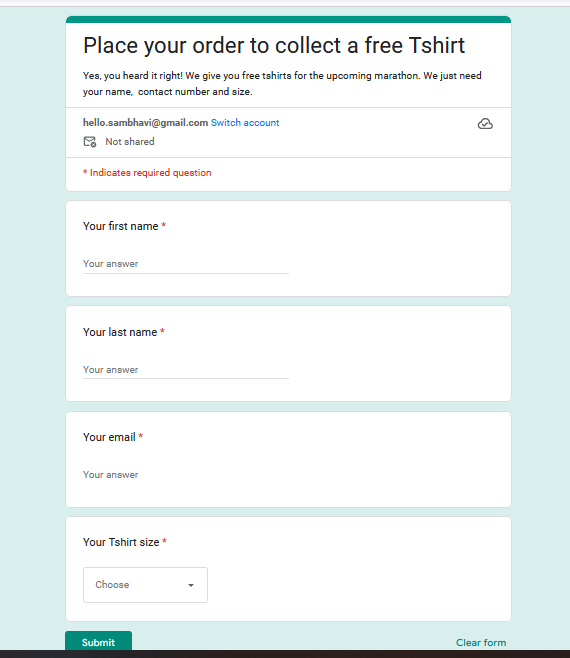
Here is the URL for the form I created: https://forms.gle/aZsvykjJ8hmHdWibA
Feel free to create a form that suits your scenario. Once you add the questions and the corresponding answer type, click on Send button on the top right corner of your screen. You will have an option to share the form with everyone. Choose the one that you see fit. I chose the Copy URL option.
Step 2 - Sign up with Airtable and create a Base
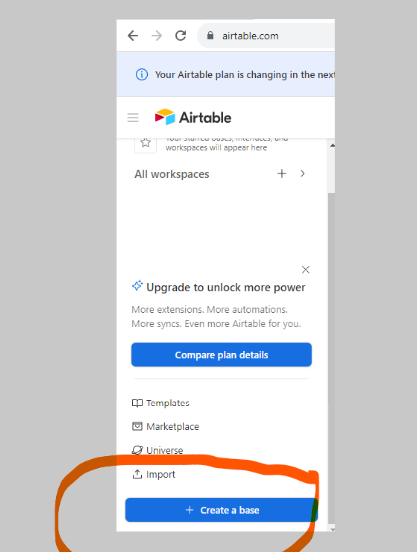
The next step is for us to create a Base in Airtable. Think of a Base as similar to a database that we are used to. Sign up for a free plan with Airtable. Once that is done, head on to the home page. On the left side panel, you should see a button called Create a base. It will look like something as below:
I named my Base "Marathon T-shirts". I then create a table by clicking on the "+ Add or Import" button on the top left corner. Below is the table in my base, it's similar to the columns in my Google Form.
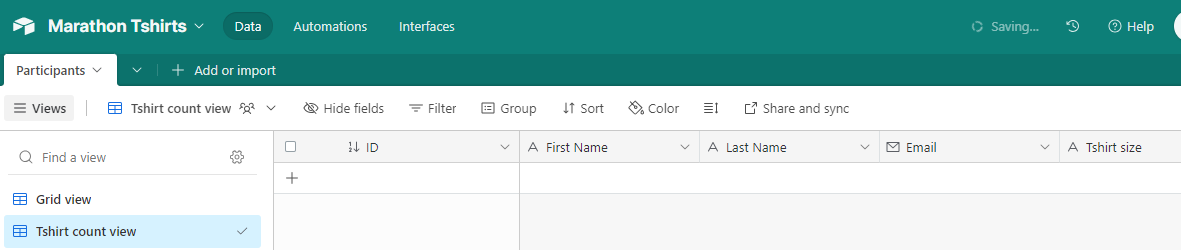
By default, Airtable creates a default table structure. I generally go ahead and modify it per my needs. If you click on the arrow mark beside each column name, you will be able to specify the data type/edit it. Feel free to modify the name and datatype of each column. The first column on the left is the Primary Key column. Hence I usually rename it to ID and designate the type of the column as AutoNumber.
First Name, Last Name and T-shirt size are Short text. The email column is of type Email in Airtable. Simple?
Step 3 - Create an automation in Make
Make is a powerful visual platform that makes it possible to automate workflows and tasks. Sign up for a free plan as that should be sufficient for initial playing around.
After filling in the initial details, the next step would be to create a Scenario. A Scenario is nothing but a series of modules that are stitched together for data to be transformed from one app to the other. Per Make documentation, 4 steps is required:
Choose your apps
Build your scenario
Test your scenario
Activate it
In our case, the apps would be Google Forms and Airtable. When a response is submitted, this scenario fires, captures the response and creates a record in Airtable.
I created a short video using Loom where I show the steps that I follow to create a scenario in Make. Since it consists of multiple steps, I thought a video would be an easier option.
Run Once. This was just to test. Once you are happy with the flow, make sure to turn on the scenario and define a trigger. For our example, an ideal trigger would be Run every 2 minutes.Google account and Make account. Likewise, my Airtable account and Make account need to be connected. That's quite simple and is self-explanatory.Step 4 - Create an Airtable automation to send an acknowledgment email to the participant
Next, we send an email to each participant whenever a record is created in our Airtable Base. To do this, we should create automation in the Airtable automation tab and then define the trigger followed by the next steps.
I just recorded a short video again rather than capturing each screenshot step by step. I promise you, once you get familiar it'll be child's play.
One thing I missed in the video is that you can configure a few more options while configuring the email step. There is a link below the "To" textbox that reads "Show more options". Clicking on that opens up a few more options where you can configure values for Cc, Bcc, From name, and Reply to. I usually configure From name to an appropriate name, else it would read "Airtable automation". In this case, I put "Team Green Marathon". I also give an appropriate value for "Reply to", but not this time as this is just a demonstration.
Step 5 - Let's perform another Airtable automation
This time it will be a scheduled one. Let's assume that getting hold of T-shirts of sizes XS and XXLs is a bit challenging. As a person responsible for handling t-shirts, I need to be aware of how many are being requested daily.
I can also go and get a count from my Airtable table. Instead, I create an automation that is scheduled to run at 10 PM every day that finds records of sizes XS and XXL and sends me an email.
Here is a short video where I perform the same.
Participants table. In doing that, you will make use of Count and Rollup types in Airtable. You can also try using Formula field to calculate the count. Since this is just a demonstration, I spinned up something quick 😎Would you want to test it yourself?
Here is the link to the Google Form I created - https://forms.gle/T6eHYwtmkFsuGBfF9
Just for fun, fill it up. You will get an email from "Team Green Marathon". But then, there are no free T-shirts 😂. And don't worry, I will not be using your emails for anything.
Closing thoughts
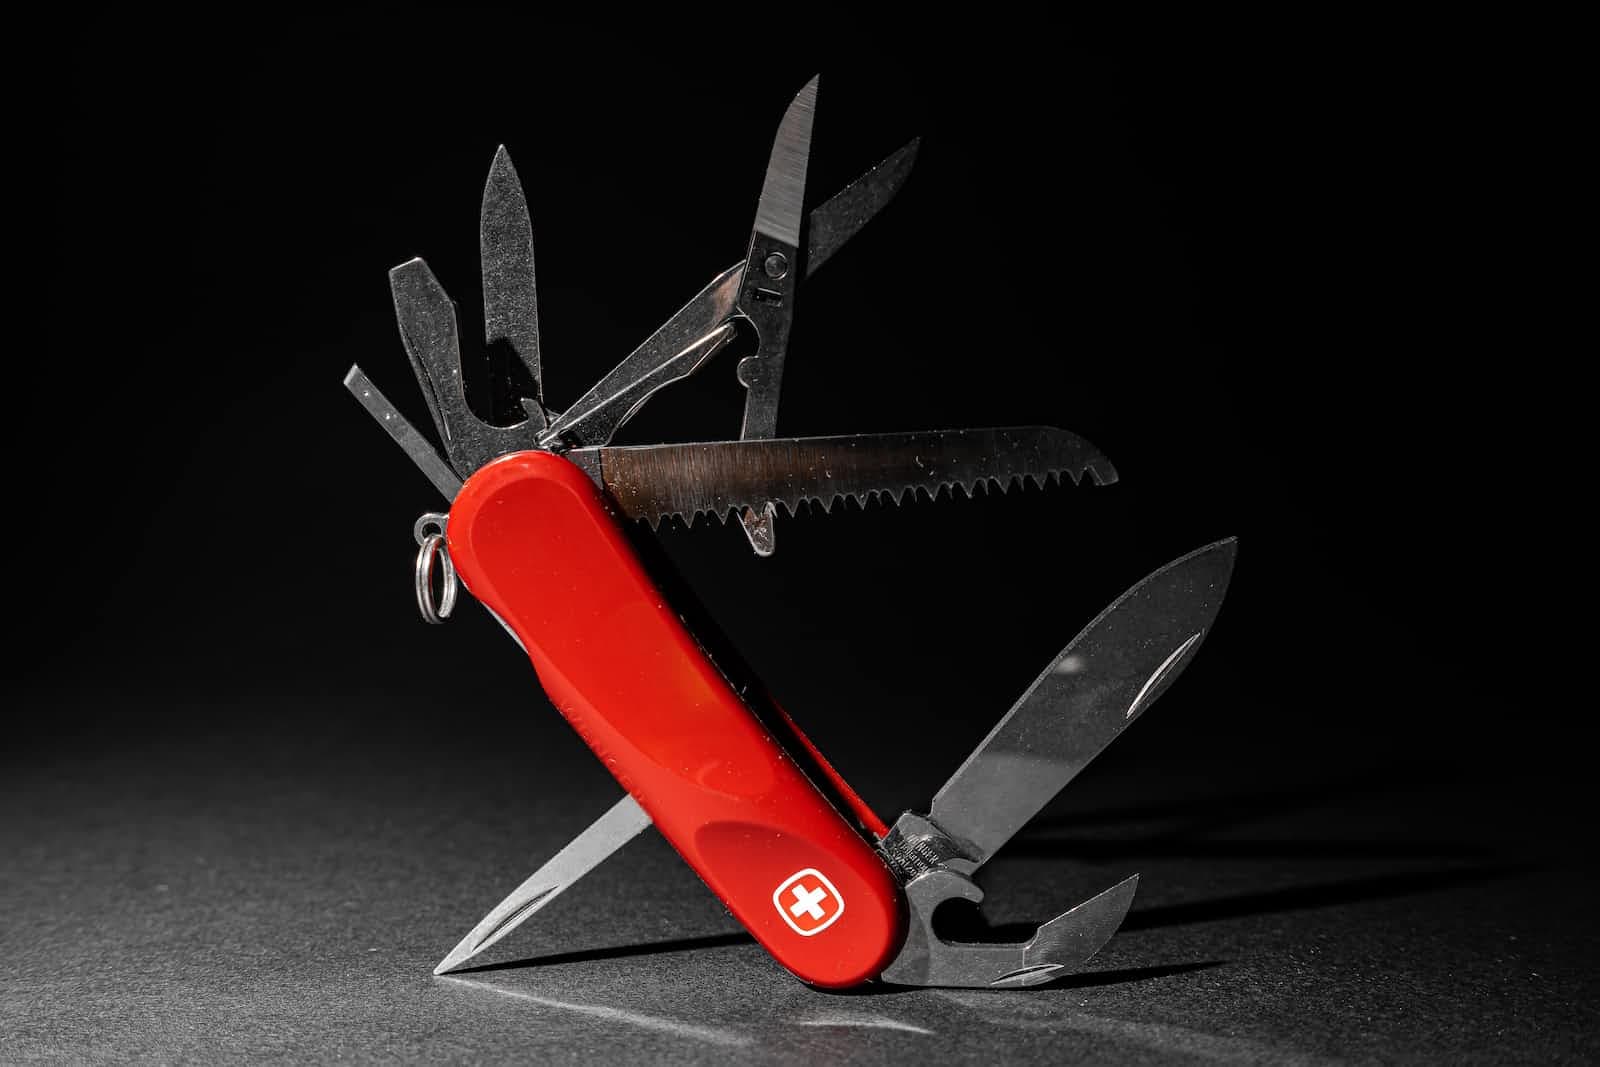
The reason why I put a Swiss army knife in the cover image of this post is not without a reason. Learning No Code and Low Code tools is a valuable and efficient skill set that one may possess. I highly encourage you to try picking up a few of these to start with. Who knows, it may be a game changer.
Do give it a try, and post your experiences. If you are out of ideas as to where to use them, don't forget to send me a nudge. I'll reply with a handful of ideas 😁